Pages

Showing posts with label recipe. Show all posts

Friday, 23 May 2014

Scones (Plain & Cheese) Recipe

Hello Everyone!


This is yet another recipe for your empty tummies to enjoy! I love cooking and baking so much, so this is the reason I have written so many posts of this genre. Sharing my experiences and recipes with you is a privilege, and I hope you like them so much that you even take it upon yourself to bake/ cook your own creations.
For this scones recipe, it was a very last minute decision to bake these. I was sat, bored in my IT lecture (it's just revision), when I was moaning as I was so hungry- I had no food or money. I could roughly remember the simple ingredients we had at home, and had a thought "I haven't made scones in a while…"so thats when my decision was made- I'd be baking scones, plain for everyone (mainly my dad) and a few cheese for me and my sister. I was very serious about making these when I got home from college that day, that whilst sat on the bus I messaged my sister with my adamant intentions.


Ingredients:
Plain Scones-
*350g Self-raising Flour
*1/4 tsp Salt
*1 tsp Baking Powder
*85g Butter (Cut into cubes)
*3 tbsp Caster Sugar
*175ml Milk
*1 tsp Vanilla Extract/Essence
Cheese Scones-
*Everything as above, minus the Caster Sugar and Vanilla Extract/Essence
*Instead add cheese-grated ( as much as you want)

Pre-Heat the oven at 200c/ Gas Mark 7

Method:
1. Place the flour into a mixing bowl, along with the salt and baking powder. Mix these together.
2. Add the butter to the dry mixture and rub together with your fingers until you get what looks like fine bread crumbs. 


3. Stir the sugar (only necessary for the plain scones) into the mixture. -> Here would be where you'd add the grated cheese.

4. Pour the milk into a jug and place in the microwave to warm it up for around 30 seconds. (make sure the milk does not turn hot) Add in the vanilla essence (only necessary for plain scones) to the milk.
5. Make a well (hole) in the dry mix and pour in the milk and vanilla. Quickly combine together (in a ball)-easier to use your hands.

6. Sprinkle flour over the work surface an tip the dough out. Knead the dough slightly to assure it is together well and a bit smoother.

7. Roll out the dough to the thickness that you require. (the thicker the dough, the less scones you'll make)

8. Take a cutter (or something round) and cut out as many scones as you can- place them on a greased baking tray reading for baking. With the left over dough, repeat the last process of rolling it out and cutting the shapes, until all the dough has gone. 

9. Place all of the 'cut outs' on a baking tray. Glaze the shapes with either a beaten egg or milk.

10. Bake in the oven for 10 minutes until risen or golden on the top. Enjoy these on their own or with jam and cream (the plain scones).

Sorry for the quality of this image, I took it one handed! :/

I hope you enjoy making this really simple recipe, it involves simple, everyday ingredients and doesn't take that long to make or bake. Enjoy the simplicity of such a typical British food- loved all year round. 
Comment or upload images of how you found the recipe and your final result. I'd love to her how you all got on. :D

Monday, 3 March 2014

Oreo Muffins

Hello Everyone!

It was my dads birthday last week and he asked me to bake him some cakes to take to work with him on the Tuesday. His work does this thing where when it's someone's birthday, that person brings in cakes for everyone to share and celebrate their day (cute right!). So this year he allowed me to decide what I was going to bake, (I was the one making them, it's only right!) and I found a recipe for Oreo Cupcakes and instantly fell in love.
Below is the Oreo Cupcake recipe (ingredients and method included) with some lovely images to display the processes I went through.

Ingredients:
(For the cake)
* 250g Self raising flour
* 250g Light brown soft sugar
* 50g Cocoa
* 250g Dark chocolate
* 250g Butter
* 4 Eggs
(For the filling)
* 154g Pack of Oreo's
* 250g Butter
* 300g Sifted icing sugar
* A few drops of vanilla extract
* 1-2 Milk (if necessary)

Pre-Heat the oven at 160c/ Gas Mark 3

Method:
1. Mix together the sugar, cocoa and flour.

2. Melt the dark chocolate together with the butter over low heat- so you don't burn the chocolate. (I used a saucepan half full with boiling water from the kettle and a bowl with the chocolate and butter in over the top to melt it).

3. Into the dry mixture stir in the melted chocolate and the crack the eggs in. Beat the mixture until light and fluffy (a typical cake mixture consistency).

4. Poor the cake mixture into the muffin cases. Use up all the mixture topping up any cases that look too sparse. (You could do what I always do and use your finger or spoon to eat the leftover mixture- Yum)

5. Place in the oven for about 40 mins, until the cakes have risen. (Another way of checking whether a cake is baked properly is to stick a knife into the cake and if it comes out clean then it is done).
6. Transfer the cakes onto a wire rack and leave until cool.
7. Whilst the cakes are cooling, you can make a start on the buttercream icing. Beat the butter until it is of a creamy consistency. To this add the icing sugar and vanilla essence, then mix well. If you find that the mixture is slighlty dry then you could add a tablespoon of milk at a time, or if your mixture is too wet then you could add more icing sugar. (It can sometimes be a trial and error)
8. Crush the Oreo cookie biscuit parts and add about 3/4 to the mixture. (Here you could place the cookies into a food blender/processor, or simply get something hard and bash them)
9. Spread the buttercream icing over the cupcakes. To do this I used a piping bag to get a nice effect, but a knife or spoon will do just fine.

10.  Lastly sprinkle the remaining cookie crumbs over the cakes.


I hope that you enjoy baking these as much as I did. Oreo's are just simply amazing and anything you try to make with them turn out great!

Friday, 31 January 2014

Chocolate and Vanilla Marble Loaf

Hello Everyone!

As you all probably know by now, by reading some of my other blog posts (if you have that is... ;)..) that I am a huge fan of cooking. Anytime I have a day off or no work do of an evening I will buy some ingredients to bake a cake, or cook dinner some nights. Although I do cook quite often, I still get really nervous letting other people try what I cooked..what if they don't like it? what if I make them ill? All extremes, I know!

So, this week I decided I wanted to make a cake loaf and I settled with the idea of baking a chocolate and vanilla marble loaf- the marble aspect of it didn't turn out as I had hoped, but it was still yummy nonetheless.

Ingredients:
* 225g Butter
* 225g Caster Sugar
* 275g Self-raising Flour
* 2 tsp Baking Powder
* 4 Eggs (medium/large preferably)
* 2 tbsp Milk
* ½ tsp Vanilla Essence
* 1½ tbsp Cocoa Powder
* 2 tbsp Hot/Warm Water

Pre-Heat the oven at 160c/ Gas Mark 3

Method:
1. Put the butter, sugar, flour, baking powder, eggs, milk and vanilla essence into a mixing bowl and mix/ stir together until it is well blended and you get a thick consistency.


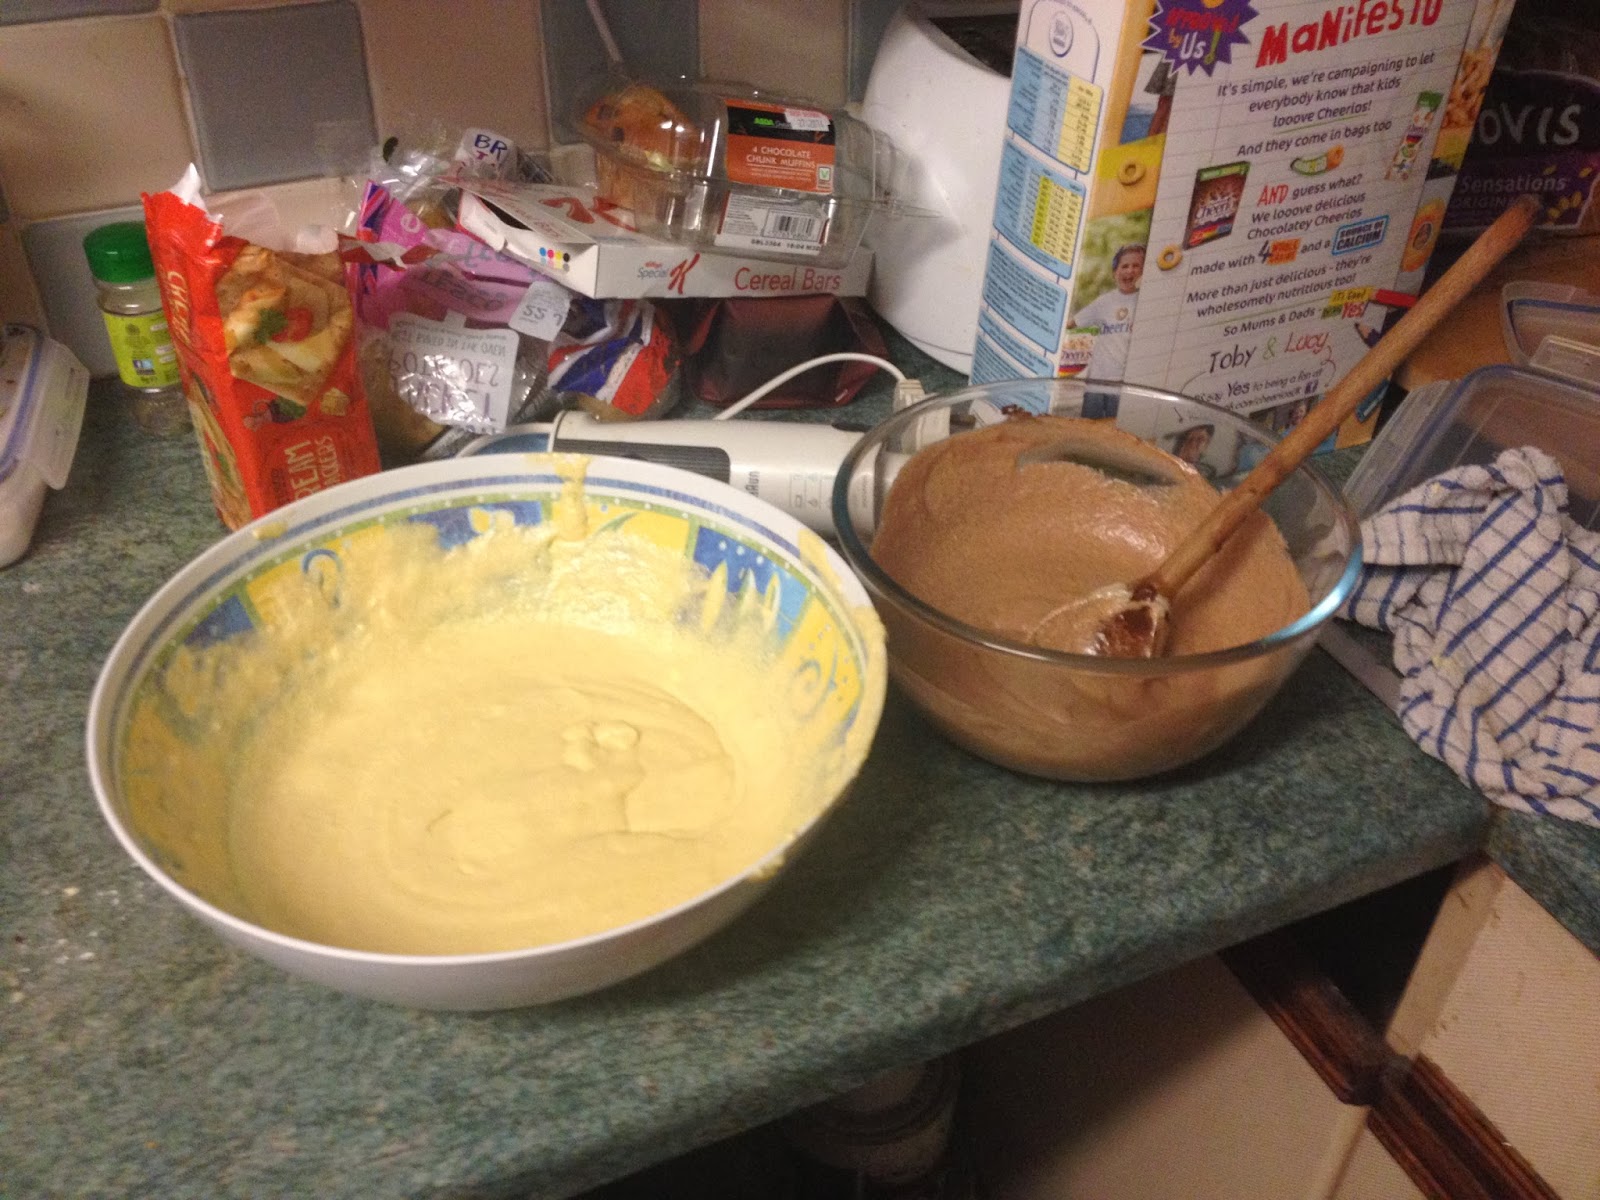
2. Pour half of this mixture into another mixing bowl. Place one bowl to the side and leave until your pour into the baking tin.

3. In a jug or bowl pour the hot water and into this add the cocoa powder. Mix the two together until smooth and then add to one of the bowls. Stir in the chocolate mix until you get a chocolatey mixture.
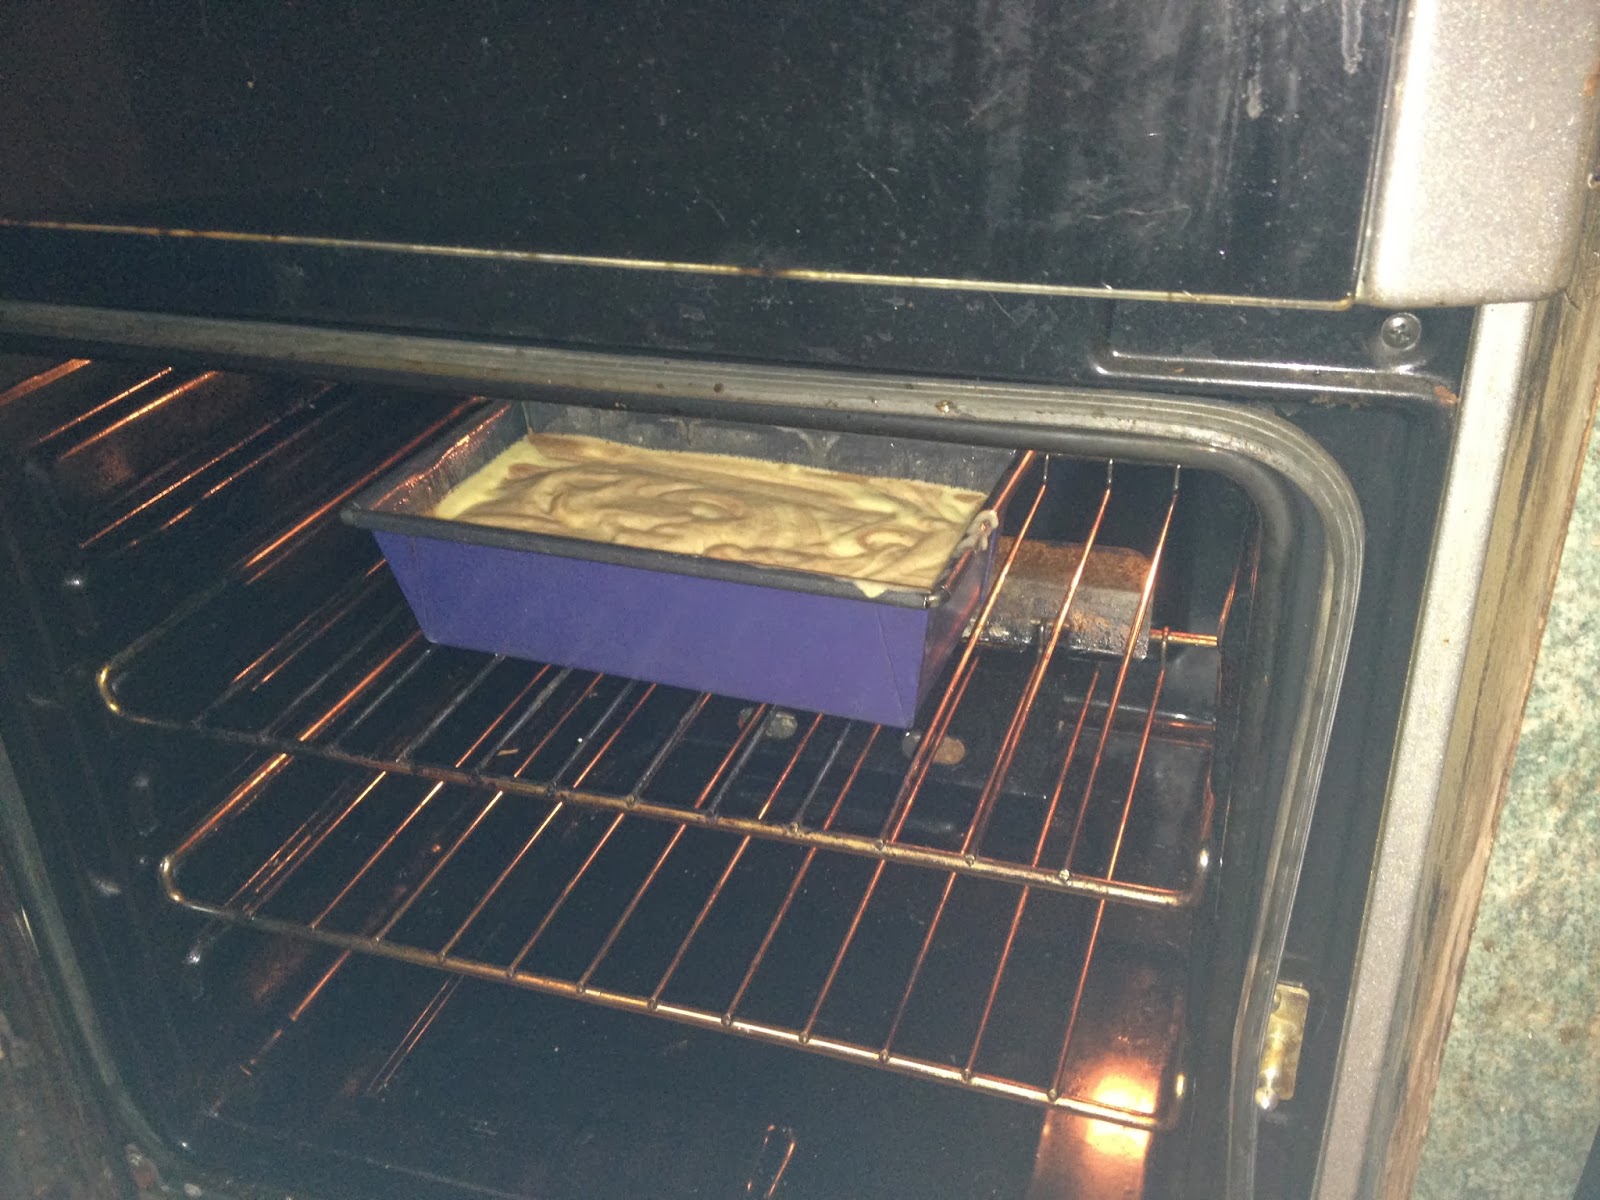
4. Spoon in the chocolate and vanilla mixtures into the greased baking tin randomly, until the two bowls are empty. To achieve a marble effect, add spoonfuls of the different mixtures in a variety of places and quantities, whilst baking in the oven they will combine together.
5. Place the tin in the pre-heated oven for 50 minutes to an hour, depending on how long the cake takes to rise.

6. Once the cake is fully cooked (if you're wary you can stick a knife into the cake a remove it to see if the cake is sticky inside- cook for longer if this is the case) remove it from the oven and leave to cool in the tin for a while. After a few minutes you can turn the cake out onto a cooling rack.

7. When you feel it is cool enough, you may eat it.

Have fun baking this! It's such a simple cake to make and adapt to suit what you like about a cake

Tuesday, 22 October 2013

Pizza Perfect!

Hello everyone!

For quite a while I had the urge to make home-made pizza, I haven't made it since cooking at school in year 8 (5 years ago :o) Last Tuesday after going food shopping, rather early for a day off college, I got all the ingredients I needed to make the perfect pizza. First I had to make enough room and clean the work top for me to roll out the dough. Then the cooking was commenced! 

Ingredients:

(For the base)
*300g strong bread flour (you can you white or whole meal)
*1tsp yeast
*1tsp salt
*1tbsp cooking oil
*200ml water
(For the toppings)
*grated cheese (as much or as little as you want)
*tomato purée
*any other toppings you feel like makes a pizza yummy to you; meat, veg (I chose   chicken strips, sweetcorn and red pepper)  
Pre-heat the oven to 240c/ gas mark 7

Method:

1. First I found a big mixing bowl and into this I put the flour, salt and yeast. Mix these together.
2. Make a whole in centre of the mix, then pour in the cooking oil and water. Stir all of these ingredients together until you achieve a soft dough.
3. Move the dough onto a floured surface and knead until it is smooth. Set the dough to the side and cover to allow it to rise. 
4. Whilst waiting for your dough to rest, you could start to prepare your meat or veg for the toppings.
5. When you feel that the dough is ready (your own judgement). Use a rolling pin to roll out the dough to the width and size you would like. (When rolling mine out, it was more of a deep pan pizza, if you prefer thin crust split the dough in half and make two pizzas).
6. Lift the base(s) onto greased tray(s) or baking sheet(s).
7. Onto the pizza dough base smother it with the purée with a spoon and sprinkle the cheese over the top. Scatter the rest of your toppings over the pizza and place into the oven to be cooked.
8. Leave in the oven for 10-15 minutes and serve when done. 

I hope that this recipe works for you, by all means take a look and change or add things you feel necessary. If you do make it, you could leave comments on how yours turned out.
Thank you for reading yet another blog post of mine, this one was a little different and I hope you liked it! :)